

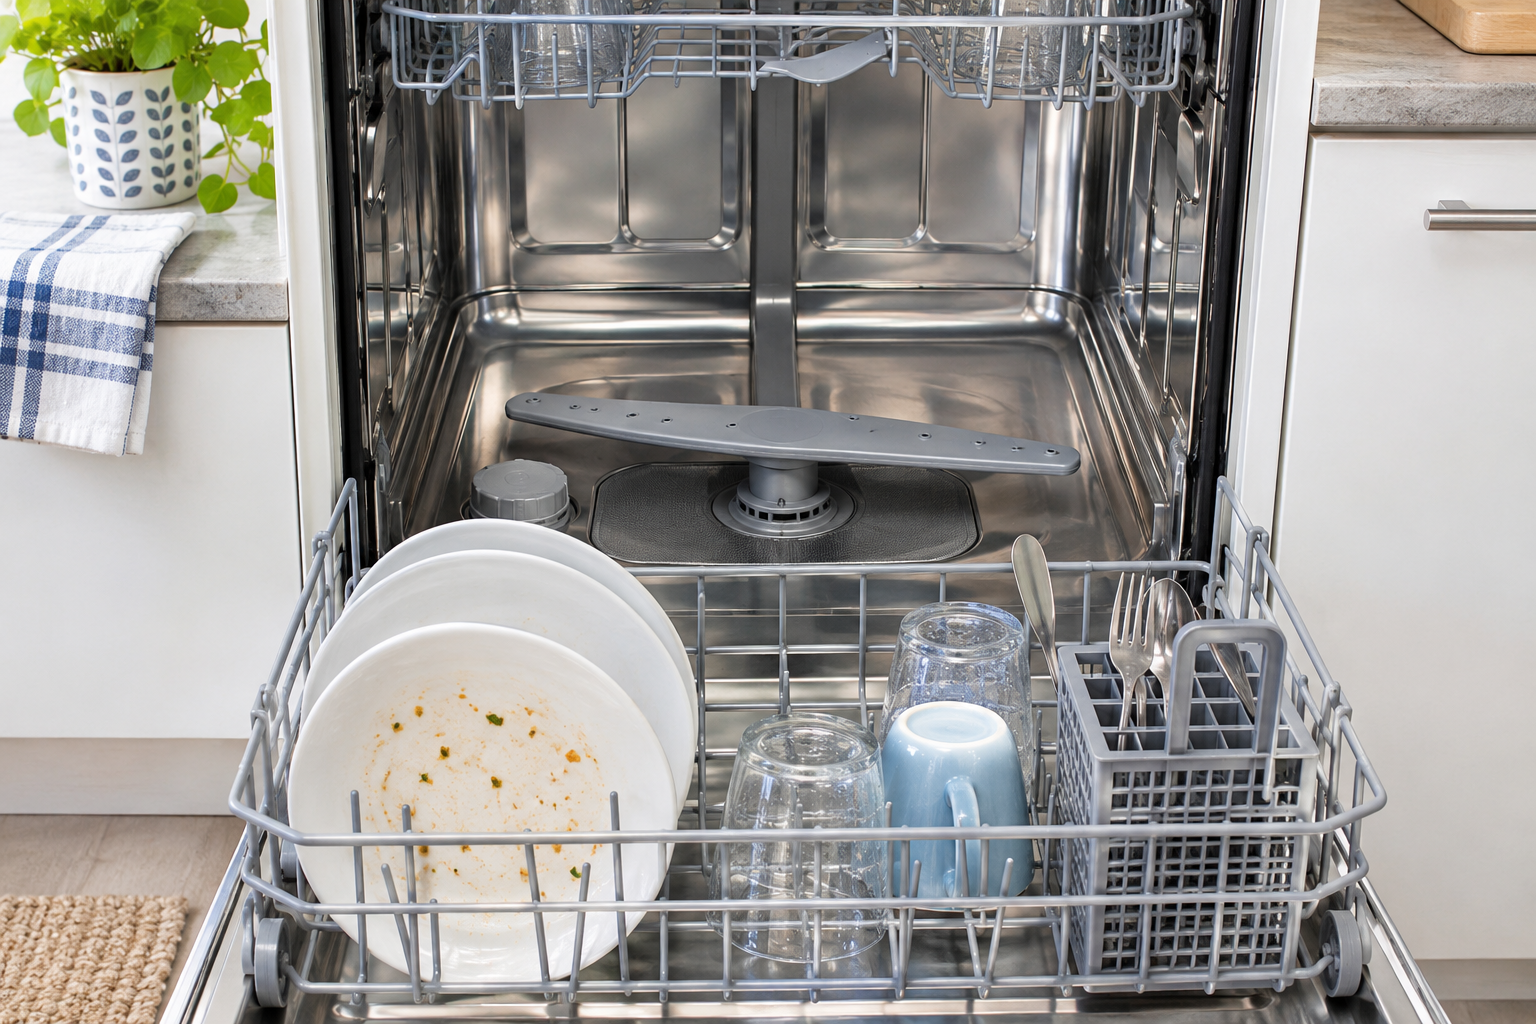
Opening the dishwasher to find gritty plates, greasy bowls, or yesterday’s dinner still stuck to a fork is frustrating. Poor cleaning does not automatically mean the dishwasher needs an expensive repair.
Start with three simple checks: make sure the spray arms can turn, inspect the filter according to your owner’s manual, and check that dishes are not blocking the detergent dispenser. Loading and maintenance problems can produce symptoms that look like a failed part.
If those checks do not solve the problem, the pattern of dirty dishes can help you decide what to inspect next.
- Give the Water a Clear Path
A dishwasher cleans by directing water and detergent across the dishes. When a large pan shields smaller items or bowls nest tightly together, some surfaces receive very little wash water.
Load dirty surfaces facing inward and downward toward the spray arms. Separate utensils, leave space between bowls, and keep large items from blocking the dispenser.
Read More: 5 Benefits of Choosing a Local Moving and Storage Company
Before starting a cycle, gently rotate each accessible spray arm by hand. A tall plate, cutting board, or utensil hanging through the rack can stop an arm from turning. Rearranging one item may restore coverage without replacing anything.
Also select a cycle suited to the load. A quick cycle may not be appropriate for heavily soiled cookware, and some machines have wash-zone settings intended for only part of the dishwasher.
- Check the Filter for Trapped Food
Food particles and grease can collect in the filter system. If dishes feel gritty or small pieces of food remain after washing, checking the filter is a sensible next step.
Consult your owner’s manual first. Some dishwashers have removable filters that need regular cleaning; others use a different filtration system. Do not force out a component because it resembles a removable filter shown in an online video.
For a user-removable filter, follow the manufacturer’s instructions for removal and cleaning. Rinse away trapped debris and use a soft brush if permitted. Inspect the surrounding area carefully for broken glass.
Reinstall the filter securely before running the dishwasher. A filter that is damaged or incorrectly seated needs attention, but a dirty filter usually needs cleaning before it needs replacement.
- Inspect the Spray Arms for Blockages or Damage
Spray arms distribute water through small openings along their length. Blocked openings can reduce coverage, while an obstruction can keep the arm from rotating.
With the dishwasher off and cool, look for food debris in the openings. Follow the owner’s manual if removal is needed. Mounting methods vary: an arm may use a retaining nut, a clip, or another connection.
Use the recommended cleaning method and avoid enlarging or damaging the spray openings. While inspecting the arm, check for visible cracks, separated seams, distortion, or a damaged mounting connection.
Cleaning cannot repair a split seam or broken attachment. If you find physical damage, compare dishwasher replacement spray arms using the appliance’s full model number and the arm’s position.
Upper, middle, and lower arms are not interchangeable simply because they look alike. Length, mounting hub, water connection, and spray pattern can differ.
An arm that turns freely by hand is not proof that the wash system works correctly during a cycle. Inadequate filling or circulation can also affect spray-arm operation.
- Notice Whether One Rack Cleans Better Than the Other
The location of the dirty dishes provides a useful clue.
If the lower rack cleans well but the upper rack does not, check loading and the spray arm serving the upper rack. On models with a rack-mounted water connection, make sure the rack is pushed fully into place and the connection aligns as described in the manual.
If the rack height is adjustable, check that both sides are properly positioned. Look for a visibly damaged connection or support, but do not assume a single symptom identifies a specific failed part.
Read More: Modern Tile Trends Transforming Contemporary Home Interiors
If both racks clean poorly, review the filter, detergent, cycle selection, and water supply before focusing on one spray arm. A problem affecting the entire wash system can leave dishes dirty throughout the machine.
- Check Detergent, the Dispenser, and Water Temperature
A detergent tablet left in its compartment does not necessarily mean the dispenser has failed. A dish may have blocked the lid, or insufficient water may have reached the detergent.
Keep the dispenser clear when loading. Use fresh automatic dishwasher detergent, store it somewhere dry, and follow the detergent and appliance instructions for dosing. Hand dishwashing liquid is not suitable for a dishwasher.
Before starting the dishwasher, run the kitchen faucet until the water is hot, then turn it off and start the cycle. This clears cooled water from the supply line so the dishwasher begins with hot water. Follow your appliance manufacturer’s recommended water temperature.
Check the manufacturer’s recommended incoming water temperature. Water that is too cool can contribute to poor cleaning and detergent that does not dissolve properly.
White spots or film call for a slightly different approach than food residue. Review rinse-aid settings, detergent dosage, and guidance for your water hardness. Buying a new spray arm will not necessarily solve a mineral-film problem.
- Identify the Part Before Ordering It
If cleaning and loading adjustments do not help, write down exactly what happens: which rack is affected, whether detergent remains, and whether there is visible damage or an error code.
Then find the dishwasher’s complete model number. It is often on a label around the door or tub opening, although its location varies. Photograph the label rather than relying on memory.
When browsing dishwasher parts, match the component to that full model number. A brand name, approximate age, or similar-looking photograph is not enough to establish compatibility.
Check whether the replacement includes any required retainers, bearings, seals, or mounting pieces. Some assemblies include these components; others are sold separately. Confirm fitment before ordering, especially when an older part number has been replaced by a newer one.
- Know When Professional Diagnosis Makes Sense
Routine loading adjustments and manual-approved cleaning are reasonable starting points. Electrical testing, pump diagnosis, and repairs requiring access beneath the appliance call for different skills.
Disconnect electrical power before removing components or beginning repairs, and shut off the water supply when the work involves water connections. Follow the model-specific instructions.
Stop using the dishwasher and arrange service if you notice a burning smell, repeated breaker trips, or an active leak. Persistent poor cleaning after basic checks also warrants diagnosis, particularly if the machine does not appear to fill or circulate water normally.
The most useful first step is a careful inspection. Clear the water’s path, clean the components designed for routine maintenance, and look for identifiable damage. When a replacement is necessary, matching it to the full model number gives the repair a much better starting point.